Customisations explained
Customisations let you make small, guide-specific edits, like changing text, photos, or videos, without affecting your shared content in the Content Hub.
They’re perfect for details that differ slightly between properties, such as Wi-Fi passwords, parking notes, or appliance instructions.
You can create and manage customisations either directly in the Content Hub or from the Guide Content tab.
Both options work the same; it’s just about where you prefer to work.
💡 New to adding guides?
Check out this article first: 👉 Best practice for adding your second guide to learn how to reuse and customise your content across guides.
Article Content
- Creating a Customisation in the Content Hub
- Removing a Customisation in the Content Hub
- Creating a Customisation in the Guide Content Tab
- Removing a Customisation in the Guide Content Tab

Creating a customisation directly in the Content Hub
-
Go to the Content Hub and scroll to the topic you want to customise.
Click the three dots on the right and select Edit topic.
Scroll down to the Customisation section at the bottom of the page.
Click Add Custom Text or Add Custom Media.
Choose the guide you want to customise.
Edit the content (text, images, or videos) with the information that’s specific to this guide.
Click one of the following:
- Save & Go Back – saves your change and returns you to the Content Hub.
- Save – saves your change and keeps you in the Guide Content tab for that guide.
⚠️ You’ll see a confirmation pop-up — click Save Customisation to confirm.

Your topic now shows the updated version in the selected guide only.
The original master content in your Content Hub stays unchanged.
💡Tip:
The topic must still be visible to that guide, either through an active tag or Visibility Override.
Removing a customisation in the Content Hub
To delete a customisation and revert to the original Master Content version, follow these steps:
- Go to the Content Hub and find the topic.
- Click the three dots and select Edit topic.
- Scroll to the Customisation section and click the guide name.
- Choose Delete Custom Text or Delete Custom Media.
- A pop-up will appear asking if you’re sure you want to delete the customisation — click Delete to confirm.
- You’ll then see another prompt:
Would you like to stay on Guide Content or return to Content Hub?
Choose Stay here to remain in the Guide Content view,
or Go back to return to the Content Hub.
- If you select Go back, make sure to click Save in the Content Hub to finish the process.
⚠️ Once deleted, the customisation can’t be recovered.
Creating a customisation directly in the Guide Content tab
- Go to the Guides page from the left sidebar.
- Click the guide name from your list of guides.
- Open the Guide Content tab.
- Find the topic you want to customise and click the three dots on the right-hand side.
- Select Add Custom Text or Add Custom Media.
- Edit the topic with the details specific to this guide, then click Save.
💡 Tip:
Since you’re creating the customisation directly from the Guide Content tab, you can easily see and manage all existing customisations for that guide without leaving this view.
If you open Add Custom Text or Add Custom Media by mistake or decide not to change anything, don’t click Save; this will still create an empty customisation.
Instead, simply click the X at the top right of the topic window to close it without saving.
Removing a customisation in the Guide Content tab
To delete a customisation and revert to the original Master Content version, follow these steps:
- Go to the relevant Guide Content tab.
- Find the topic and click the three dots on the right-hand side.
- Select Delete Custom Text or Delete Custom Media.
- Click Delete to confirm.
⚠️ Once deleted, the customisation can’t be recovered. The topic will automatically return to its original Master Content version.

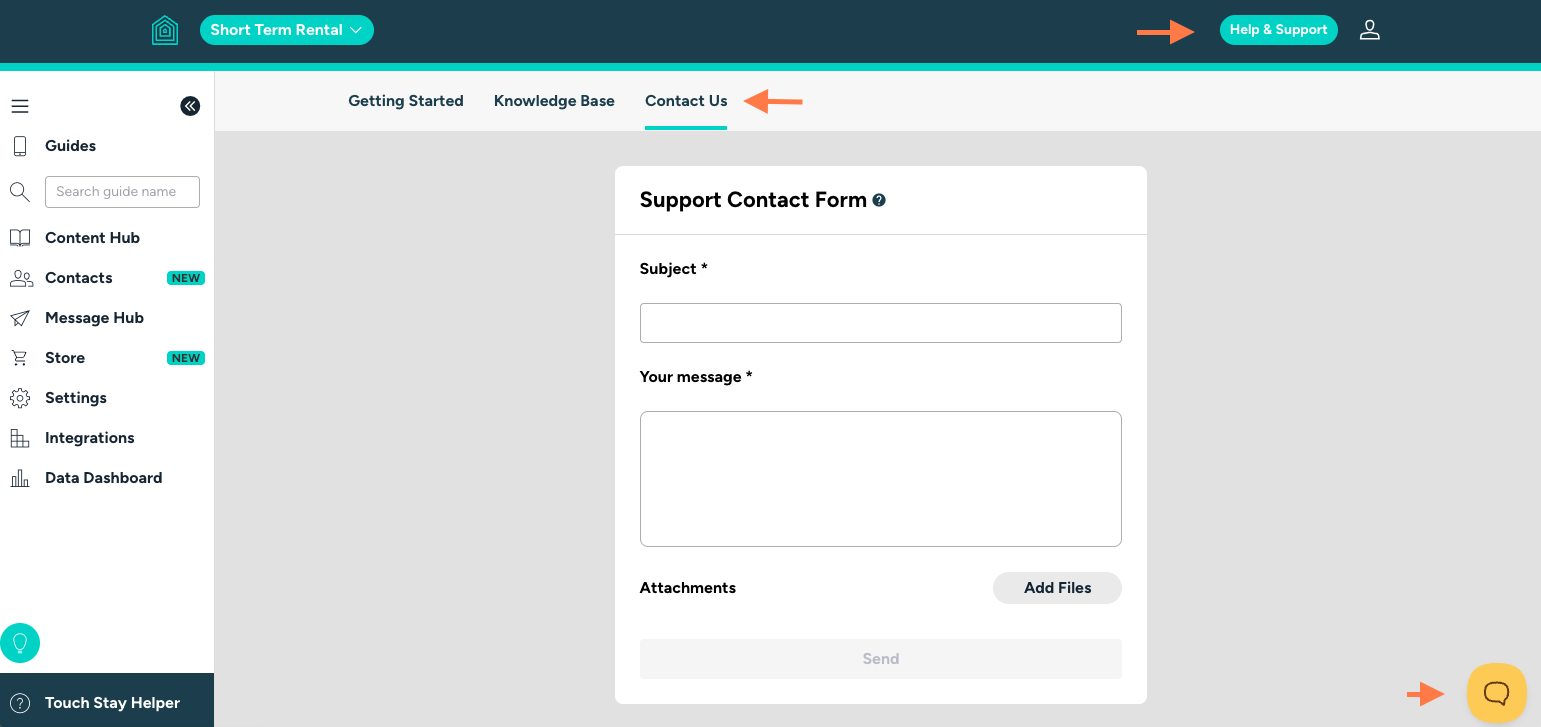
🤝 Need Help?
If you get stuck, please reach out to our team, and we will be right in touch to help: support@touchstay.com or send us a ticket from your Touch Stay Account