Best practice for adding your second guide
When you add your second guide, you might wonder:
👉 Should I reuse my first guide’s content, or start fresh?
Touch Stay makes both easy. You can reuse what you’ve already created and still keep each property unique.
This article will help you add your second guide and understand how Touch Stay organises and shares your content through the Content Hub, Tags, and Customisations.

Article content
- Key Concepts
- Understanding the Content Hub
- 🎬 Part 1: Add Your Second Guide
- 1️⃣ Add Your Second Guide
- 2️⃣ Reuse Shared Content with the All Guides Tag
- 3️⃣ Make Small Differences with Customisations
- 🎬 Part 2: Creating Property-Specific Content with Tags
- For Smaller Portfolios (Up to 5 Guides)
- For Larger Portfolios (More Than 5 Guides)
- Applying Tags to Topics
- Troubleshooting and Tips
Key Concepts
- Content Hub – Your master library where all guide content lives. Each guide pulls its topics from here.
- All Guides tag – Automatically shares your master content with every guide.
- Tags – Control which topics appear in which guides, ideal for grouping or separating content.
- Customisations – Let you make small, guide-specific tweaks (like Wi-Fi passwords or parking details) without changing your shared content.
Understanding the Content Hub
The Content Hub is your central workspace for everything that appears in your guides.
You can organise your content into categories, subcategories, and topics, and choose which guides each piece belongs to.
It’s designed to save time, create your content once, share it across multiple guides, and customise only where you need to. ✨
When you add a new guide, all shared content tagged with All Guides automatically appears.
From there, you can keep, adjust, or replace topics as needed for each guide.
🎬 Part 1: Add Your Second Guide
1️⃣ Add Your Second Guide
Go to Guides → + Add Guide, then fill in:
- Property name
- Address, city, region, postcode, and country
💡 Using a PMS integration? You can import properties automatically. Click here to see which PMS options are supported.
2️⃣ Reuse Shared Content with the All Guides Tag
When you create a new guide, all content with the All Guides tag automatically appears.
This gives you a ready-made starting point using your existing shared information.
Keep the All Guides tag active and click Create Guide.
Once done, you’ll return to the Guides page where your new guide appears.

3️⃣ Make Small Differences with Customisations
For topics that are mostly the same but differ slightly (like Wi-Fi codes or parking details), use the Customisation tool.
To add a customisation:
- Open your Guides page.
- Click your guide name → Guide Content tab.
- Find the topic you want to change.
- Click the three dots on the right-hand side of the topic, then select Add custom text.
- Edit and click Save.
💡 Tip: Customisations override shared content for that one guide only; they won’t affect the original topic in your Content Hub.
🎥 Part 2: Creating Property-Specific Content with Tags
Tags give you control over which content appears in each guide.
You can use them simply if you manage a few properties, or in a more structured way if you manage many.
For Smaller Portfolios (Up to 5 Guides)
If you manage a small number of properties (for example, 2–5), the simplest approach is one tag per guide. This keeps everything easy to manage from the Content Hub.
💡 Best practice:
- Use the All Guides tag for information that applies to every property, like check-in instructions or your contact details.
- Create a separate tag for each guide to manage content that’s unique to that property, such as amenities available in one place but not another, or any other details that should only appear in a single guide
To create a new tag:
- Go to Content Hub → Tags → + New Tag.
- Give it a short, clear name (for example, Villa 1 or Beach Apartment).
- Choose a colour and link it to the correct guide.
- Click Create Tag.
Repeat this for each property.
For Larger Portfolios (More Than 5 Guides)
If you manage many properties, creating one tag per guide can quickly become overwhelming.
Instead, group properties that share similar content under the same tag.
This approach keeps your Content Hub tidy and makes it faster to update shared information across multiple guides.
💡 Examples of grouped tags:
- By location – “London Properties”, “Florida Homes”
- By type – “Villas”, “Cabins”, “Apartments”
- By instructions – shared details like check-in info, bin collection, hot tubs, or pet policy
With grouped tags, you can write content once and automatically show it in all guides that share the same tag.
🎥 Watch: Advanced Tag Management for Larger Portfolios
Applying Tags to Topics
Once your tags are created, apply them to any topic you want to show in a specific guide or group of guides.
- In Content Hub, open the category and subcategory you want (e.g. About the Accommodation > Appliance instructions).
- Click + Add Topic → Your Own Topic.
- Add your content.
- Scroll down to Tags and select the one that matches your property or group.
- Click Submit.
💡 Tip:
Use the All Guides tag for shared content and your property or group tags for unique content.
Troubleshooting and Tips
-
Review and Test
Use the Preview Guide to check what guests will see.
Confirm that shared, customised, and property-specific topics appear correctly in each guide.2
-
Editing Safely
Keep an eye on the left sidebar, which shows which part of your account you’re working in.
- Guides page: You’re editing a specific guide → changes apply only to that guide.
- Content Hub: You’re editing the master content → changes apply to all guides sharing the same tag.
-
Seeing your first guide’s content in the new one?
That’s totally normal 😊
If the All Guides tag was turned on when you created your new guide, some content from your first guide will appear automatically.
How to control what shows:
- Edit tags to choose which guides each topic appears in
- Use Customisations for small, property-specific changes
💡 Tip:
Before editing anything in the Content Hub, decide what you want to keep, change, or remove.
- If you only need small differences → use Customisations
- If the new guide needs completely different content → create a new tag and apply it to those topics
-
Original content looks missing or changed?
Both guides pull from the same Content Hub.
If you edit or delete topics there, those changes affect every guide using the same tag.
🛠️ Fix:
Make edits through Customisations or assign unique tags instead of changing shared master topics.
-
My content isn’t showing in the new guide
If your tags exist but your guide’s content doesn’t appear, check that:
- The guide is linked to the tag.
- The topics are correctly tagged.
To link a guide to a tag:
- Go to Content Hub → Tags menu.
- Click Edit on the tag.
- Under Select Guides, choose the guide(s) you want.
- Click Update Tag to save.
To apply a tag to a topic:
- In Content Hub, find the topic and click the three dots → Edit topic.
- Scroll down to the Tags section.
-
Select the correct tag and click Save.
The topic will now appear in the guide(s) linked to that tag.
💡 Tip:
If you have several topics to update, you can edit them in bulk. See the article: How to update tags on topics in bulk
Now you should have everything you need to add your second guide and use Content Hub to easily share content between guides and create custom content where information needs to be different.
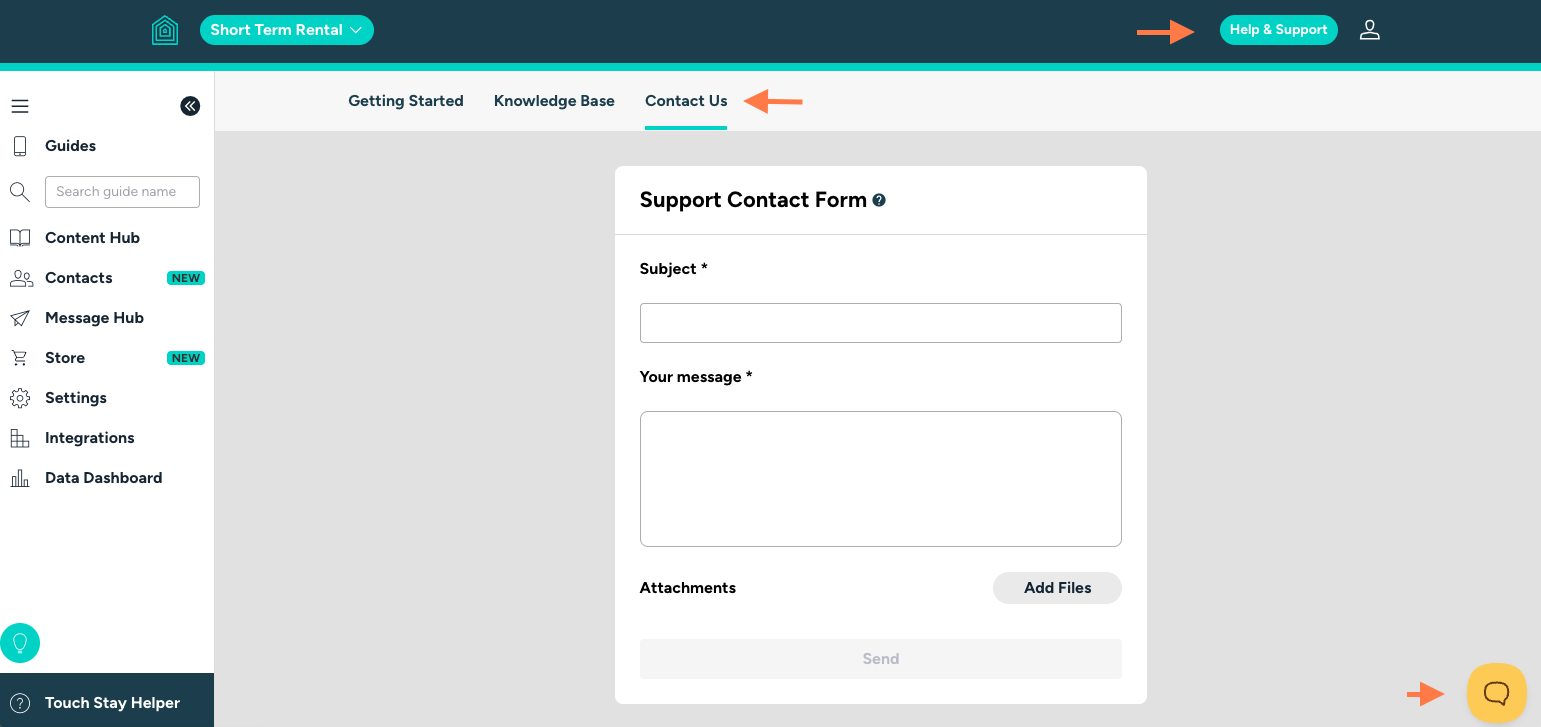
🤝 Need Help?
If you get stuck, our team’s always happy to help!
Email us at support@touchstay.com or send us a ticket directly from your Touch Stay account. We’ll be right in touch.